
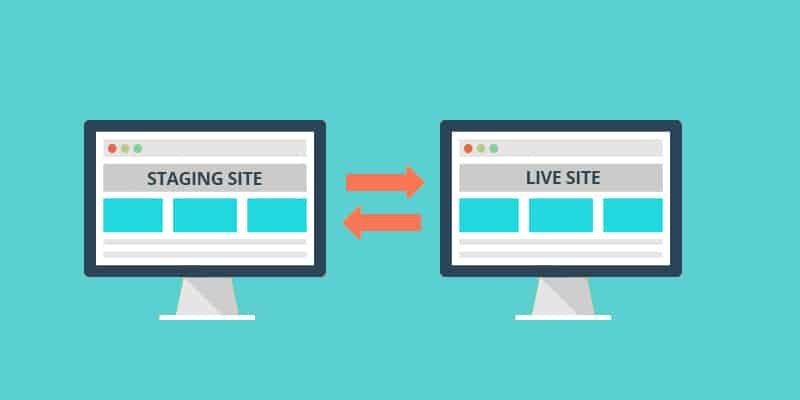
guide you through creating a staging environment on Hostinger, your safe haven for website experimentation. A staging environment is a replica of your live website where you can test new themes, plugins, and code modifications without affecting your visitors.

Here’s why using a staging environment with Hostinger is crucial:
- Peace of Mind: Test new features and updates on the staging site first. This way, you can identify and fix any bugs before they impact your live website and potentially disrupt your audience.
- Reduced Downtime: Since changes are tested thoroughly in the staging environment, the actual deployment to your live site becomes a smoother process, minimizing downtime.
- Improved User Experience: By catching and resolving issues before they go live, you can ensure a seamless and positive experience for your website visitors.
Hostinger Makes Staging Easy
The good news is that Hostinger offers a user-friendly built-in WordPress staging tool within its hPanel control panel. Here’s a step-by-step guide on creating your staging environment:
- Login to hPanel: Access your Hostinger account and navigate to your hPanel.
- Navigate to WordPress -> Staging: Locate the “WordPress” section and click on “Staging.”
- Create a Subdomain (Optional): If you prefer a subdomain for your staging site, enter your desired subdomain name and click “Create.” Hostinger can also create a temporary URL for you.
- The Staging Process Begins: Hostinger will automatically create a copy of your website’s files and database. This process might take a few minutes depending on the website size.
- Manage Your Staging Site: Once created, you’ll see your staging site listed. Click “Manage Staging” to access the WordPress dashboard for your staging environment.
Making Changes and Pushing to Live
With your staging environment ready, you can freely experiment with themes, plugins, and code edits. Once satisfied with the changes, you can easily push them live to your main website. Here’s how:
- Back to the Staging Menu: Go back to the “WordPress -> Staging” section in hPanel.
- Locate Your Staging Site: Find your staging site on the list and click the three dots icon next to it.
- Publish the Changes: Select “Publish” from the menu. A confirmation window will appear, reminding you that this action will overwrite your live website with the staging version. Pro Tip: Make sure you haven’t made any crucial changes directly on your live site since creating the staging environment, as those will be overwritten.
Hostinger also provides a “Revert” option if you need to go back to the previous state of your staging environment. Additionally, the staging tool automatically creates a backup before publishing changes, offering an extra layer of security.

By following these best practices and leveraging Hostinger’s user-friendly staging tool, you can ensure a secure and smooth website development process.